Glacage Polishing
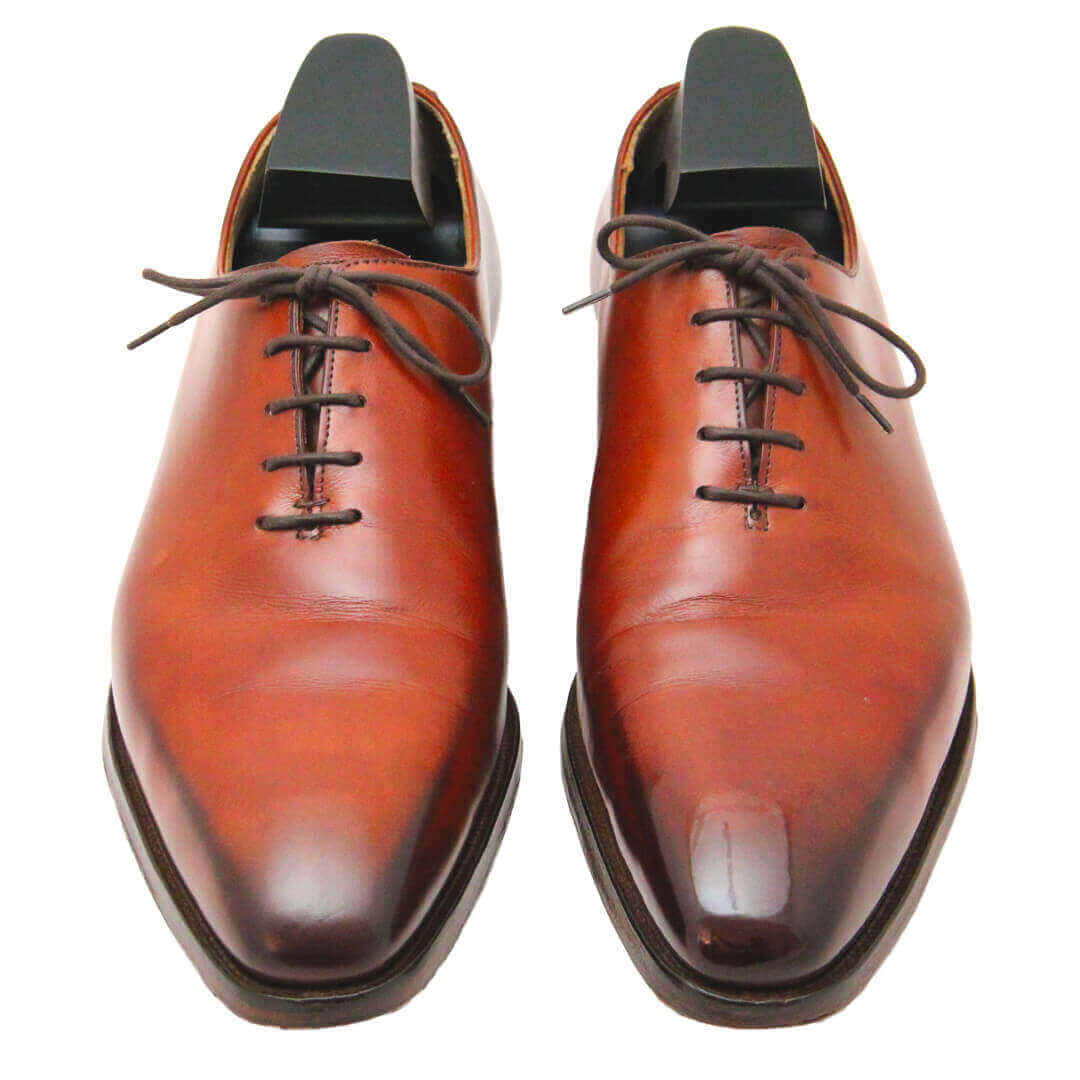
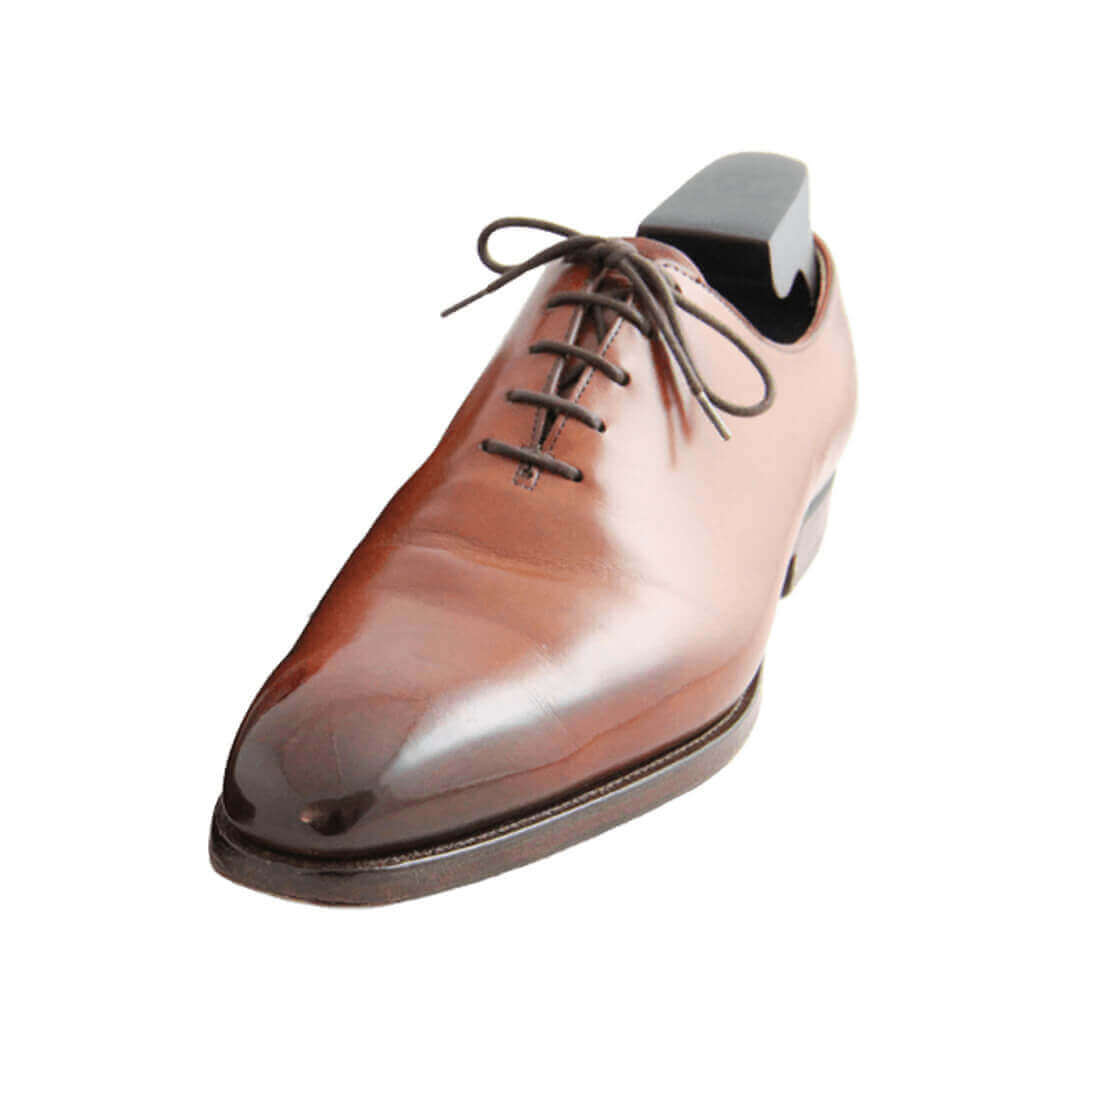
A beautiful glacage depends on the skill of the polisher. For this reason, Monsieur Chaussure has endeavoured to capture the polisher’s thought process while carrying out a glacage so that you can have all the necessary tools for transforming your shoes into works of art.
A glacage can be done whenever you polish your shoes.
Step 1: Preparation
The first thing to bear in mind is that there is no standard time duration for glossing a pair of shoes. The length of time taken depends on the type of leather, the age of the shoe, the products used and your experience in treating leather.
Start by setting aside at least 10 minutes for your glacage, keeping in mind that a professional can take over half an hour to obtain a high-gloss shine.
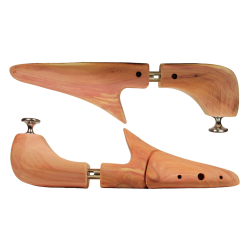
Place wooden shoe trees into your shoes and stretch them.
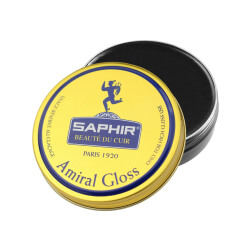
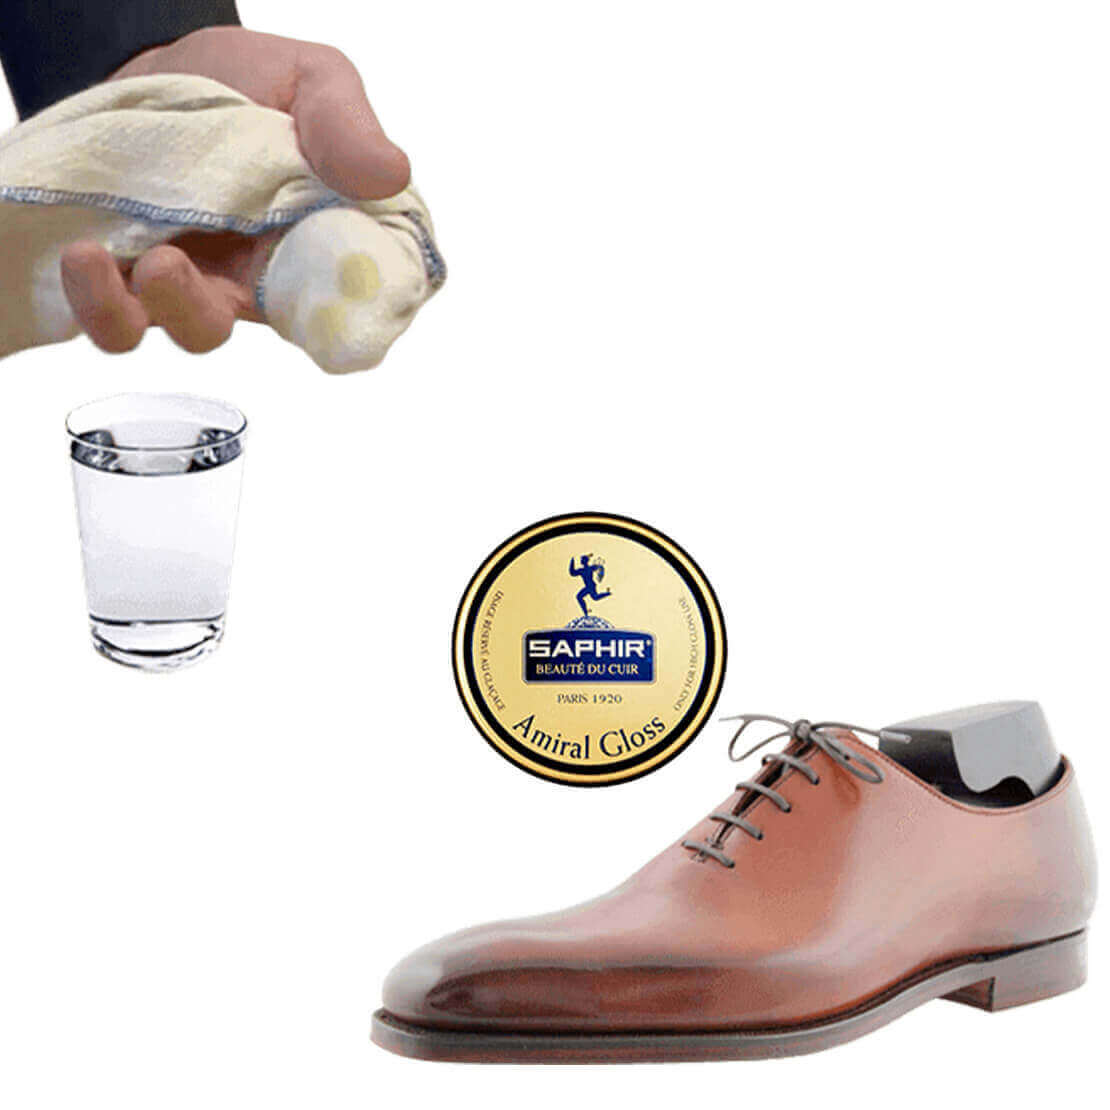
Regarding the products needed, we recommend using the shoe polish paste specially formulated for high-gloss polishing.
Use a polish paste that matches the colour of your shoes. If your shoe has a multi-coloured patina, opt for either the neutral.
As surprising as it may seem, we do not recommend using a polishing cloth for a glacage. Polishing cloths are excellent for colour removal or for applying shoe creams. However, when it comes to gloss polishing, a fine, smooth cotton cloth works best. Any old T-shirt or scrap from an old sheet is perfect!
Keep a container of warm water nearby.
For the shoe:
Your shoe must be perfectly polished before you begin a glacage. See our leather shoe polishing lesson to learn about this process.
Step 2: Glossing
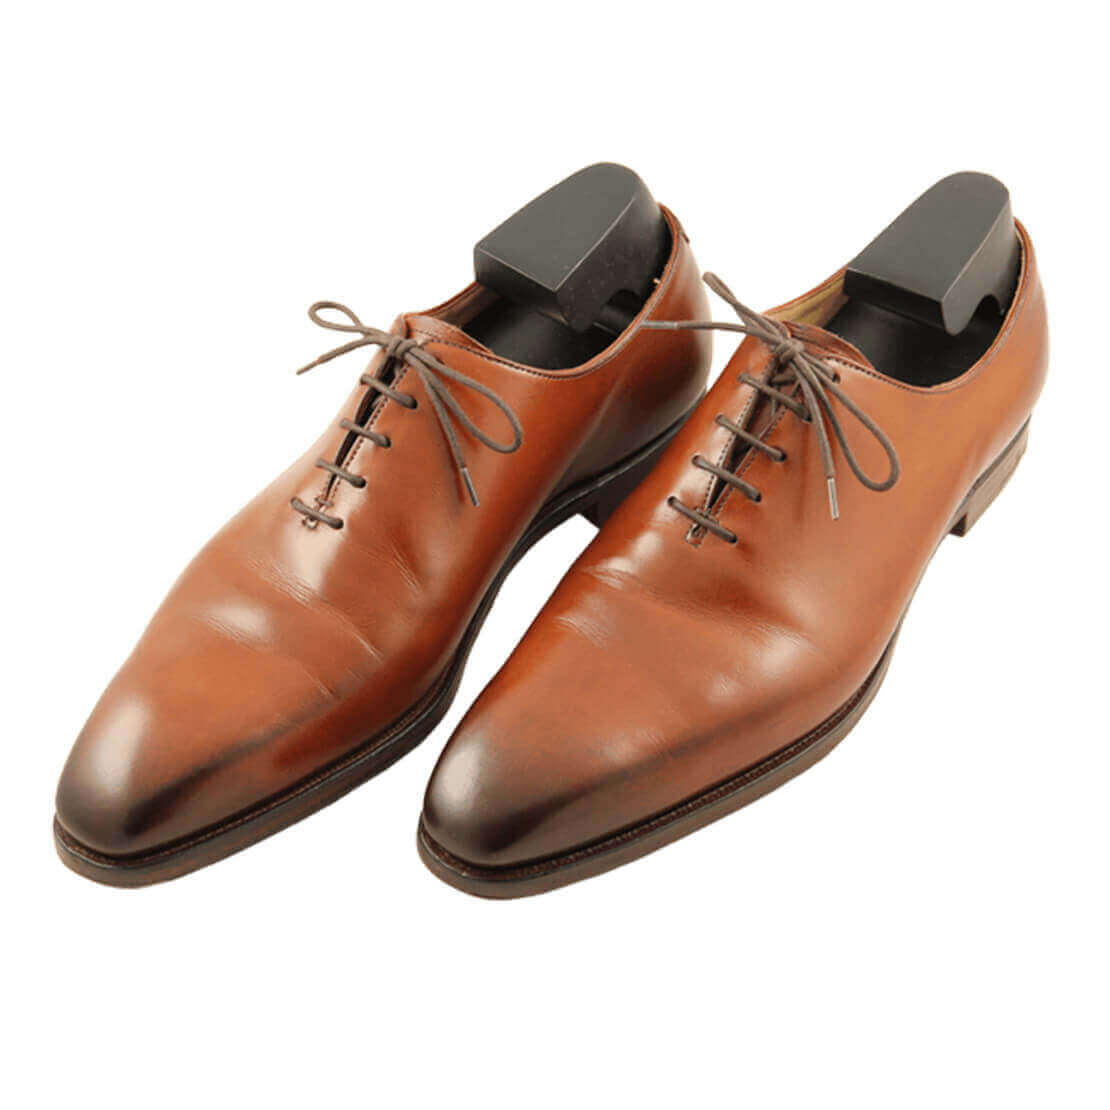
Now that your shoes have been prepared with their shoe trees, you can proceed with the glacage. To begin, wrap a cloth firmly around your index and middle fingers, making sure that the section covering your fingertips is perfectly flat. You will need to keep the cloth in this position from start to finish.
A glacage consists of alternating between two phases. The first phase involves the application of a polish paste and the second phase uses water. Repeating these phases crystallises the wax particles to produce a smooth, mirror-like shine.
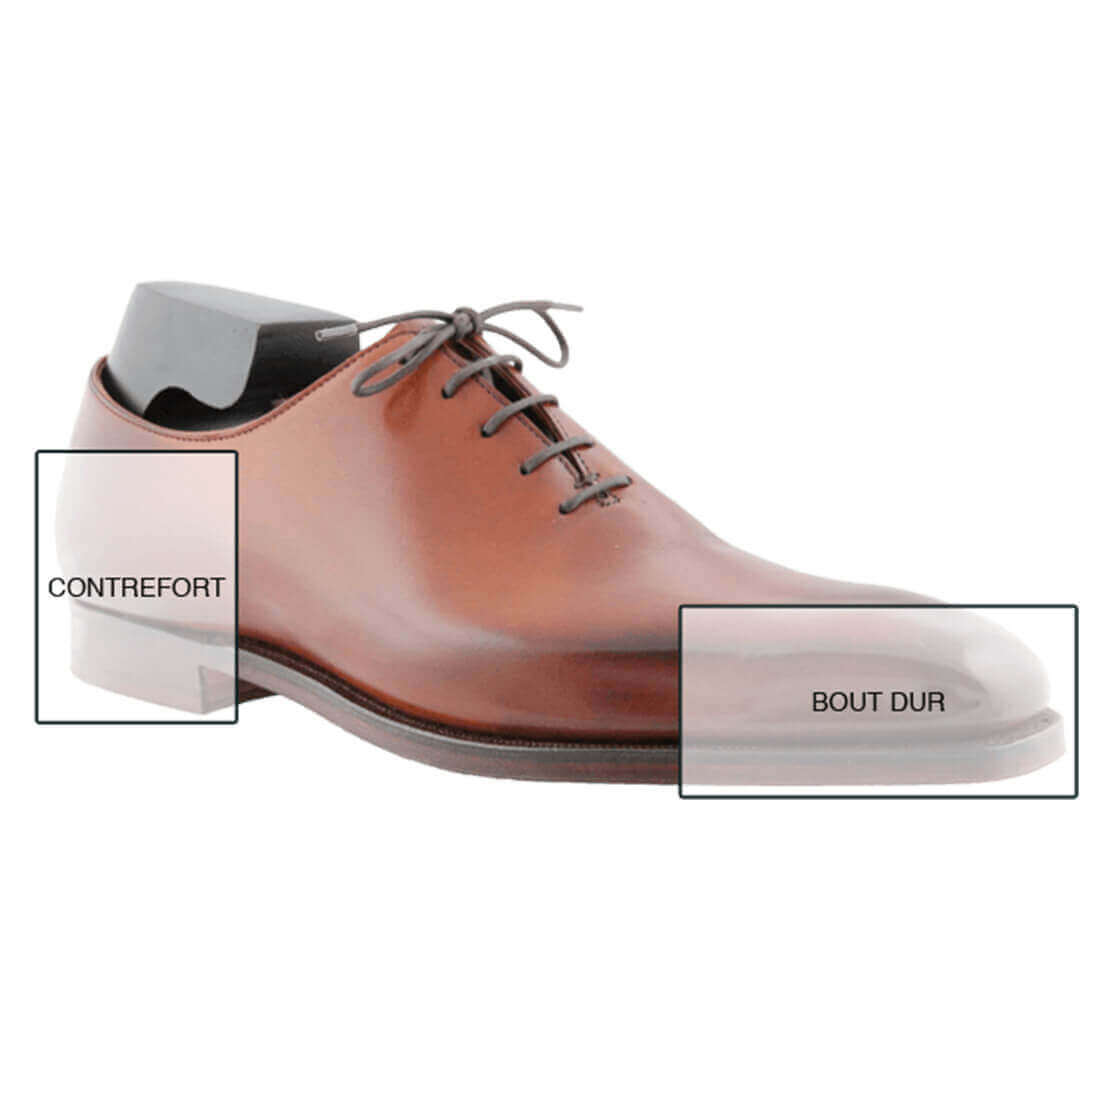
Given that the crystallisation process solidifies the wax, the glacage should only be carried out on the tips and backs of the shoes where the leather never bends.
The phases of glaçage shoe polishing
Phase One:
Dab your cloth one or two times on the shoe polish as though you’re playing the piano. Alternating between the polish paste and the water is what produces a high-quality glacage. Do not try to speed up the process by applying larger amounts of polish paste.
With one movement, apply a bit of polish paste to the glossing area and rub the leather using small circular strokes without staying too long on one spot. You should start with slow movements in the initial glacage phases, followed by quicker movements in the later phases.
Observe the feel of the polish as you proceed. In this phase, the surface should feel greasy at first, and then gradually become drier. As soon as the surface feels dry to the touch, (this is where your experience comes in) proceed to the second phase.
Phase Two:
Dip the tip of your cloth-wrapped middle finger into the warm water and apply no more than a single drop to the glossing area. Immediately spread out the water over the glossing area and massage the leather using small circular strokes without staying too long on one spot. Keep up the same rhythm as in phase one.
You will observe the same greasy feel on the surface followed by a gradually drier feel. When the surface appears stable, repeat the cycle.
Step 3: Maintenance
Between polish treatments, the glacage on your shoes will be exposed to impact, scratches and bad weather.
To revive your glacage, simply proceed with phase two of the process alone, until the mirror shine returns.
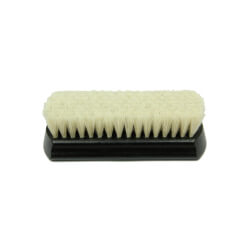
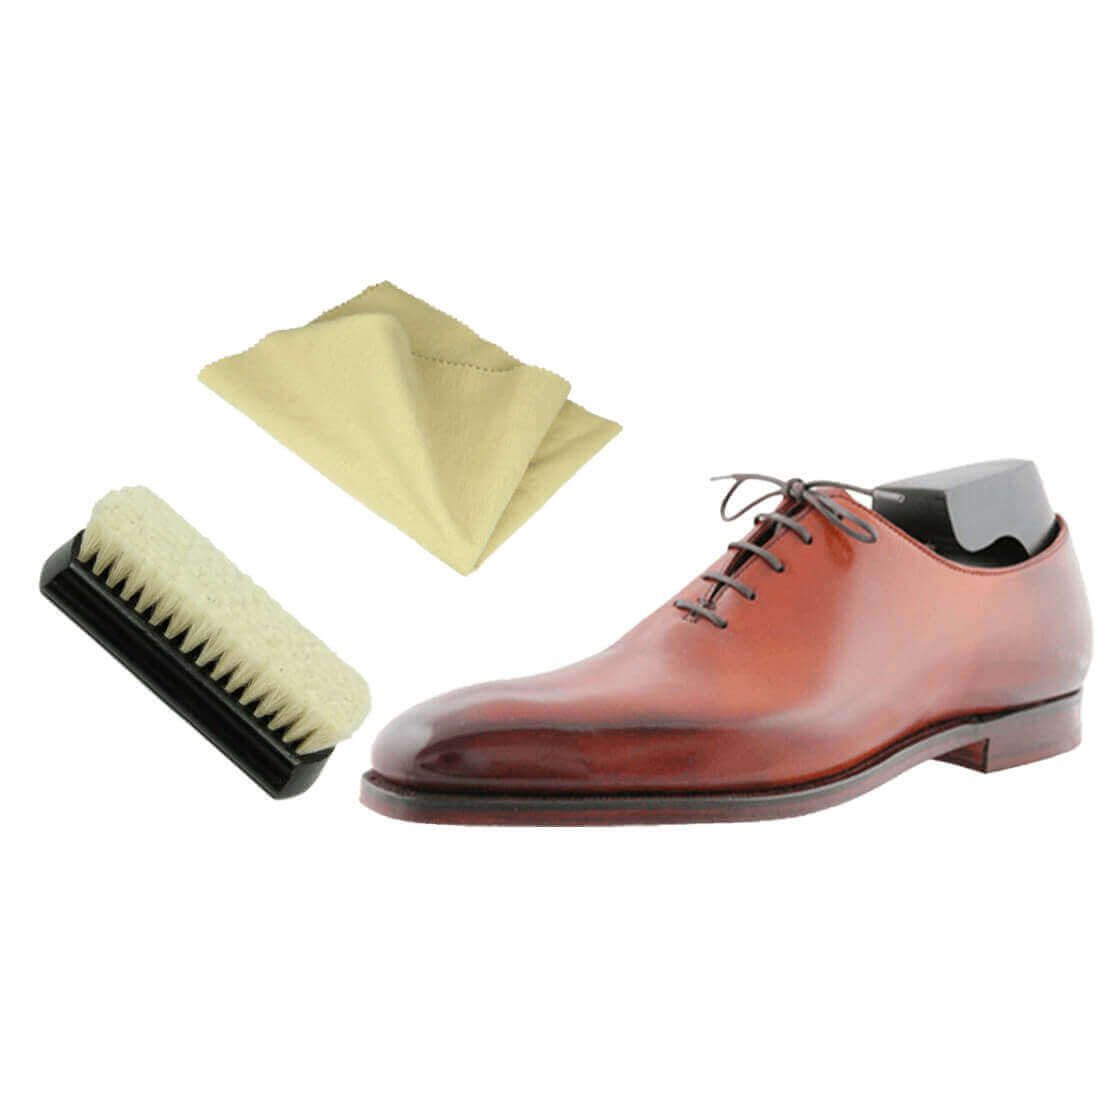
If your shoes only have a bit of dust or traces or water, use a new polishing cloth or a special brush designed for glacage and patent leather. Never use a regular polishing brush on a glacage.
Step 4: Special cases
Leather is a very complex material. If you have a hard time identifying the different types of leather or if the products used are not recommended by Monsieur Chaussure, you may be in for some of these unpleasant surprises:
- The edges of the glacage may show cracks and flake away from the shoe like dry skin. This indicates that either your glacage has been spread out too far onto the bendable areas, or that the products used were of inferior quality;
- Tiny cracks appear over time on the glacage, even at the centre of the shoe tip. This usually means that poor quality products were used;
- The glacage does not stay when applied and small white spots appear on the leather. This means that the leather is damp. In such a case, you will have no other choice but to let it dry overnight before restarting the glacage.
Conclusion
The glacage technique has been around for a long time. Given that there are various ways of successfully carrying out a glacage, we do not wish to impose a universal technique with this lesson.
We hope that it will enable you to familiarise yourself with the glacage technique so that you can come up with the one that best suits you.
