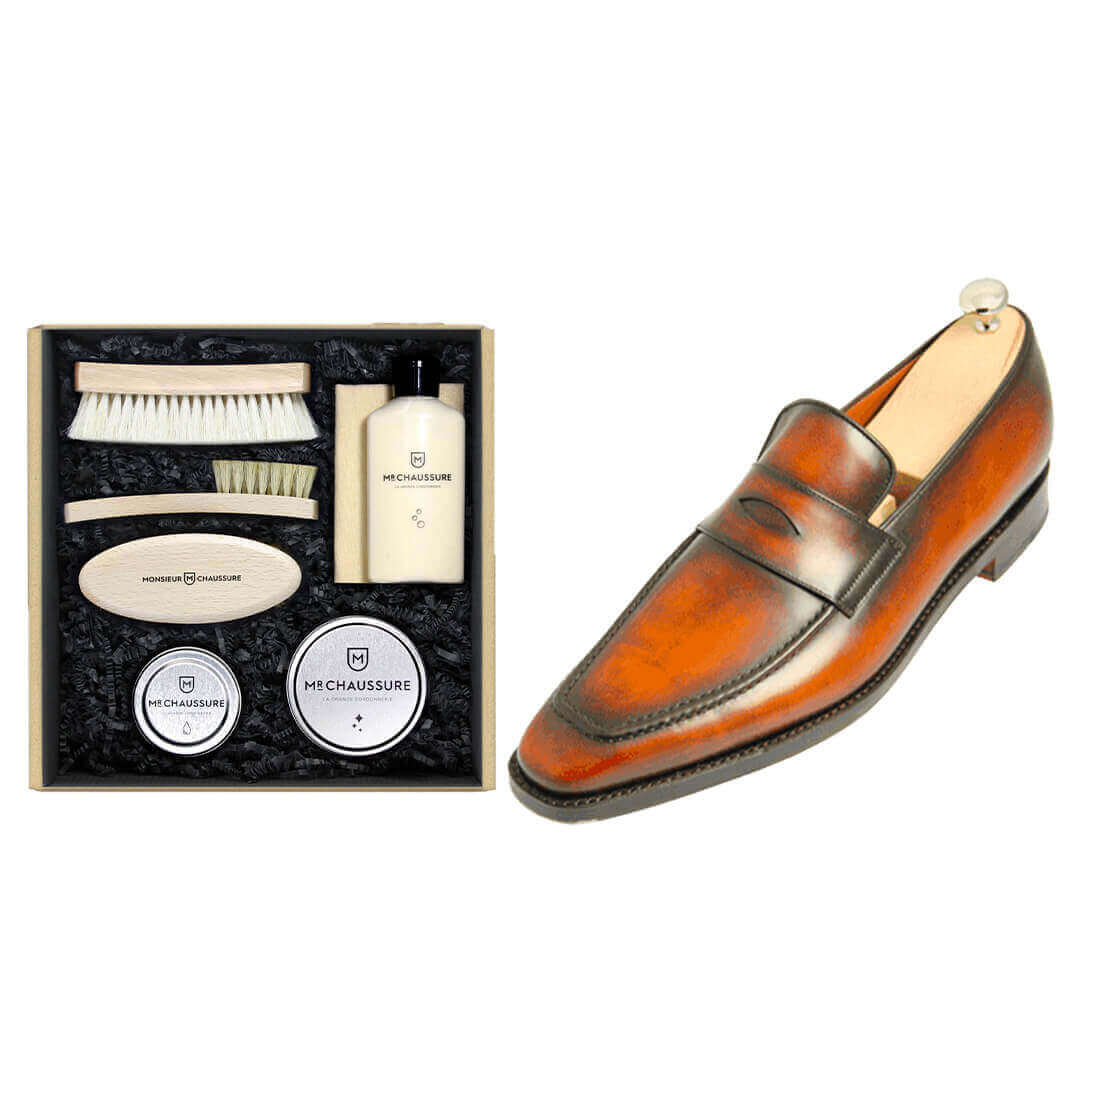
Patina

Unlike our shoe polishing lessons, this guide is more of an introduction to patina shoe design.
You will notice very quickly that the requirements for this procedure are similar to those of the shoe glacage procedure, namely a lot of patience, humility (your first patina may not be a masterpiece) and a very small quantity of the product.
Step 1: Preparing your work surfaces
You will be using solvent-based products to remove the colour from the leather or permanently dye it. We therefore strongly recommend protecting a large work surface, and wearing an apron and gloves.
Make sure that your working area is well-ventilated and that you are seated to ensure greater precision as you proceed.
Step 2: Preparing the dyes
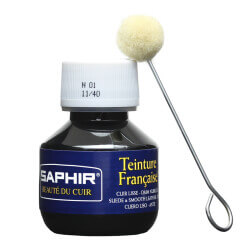
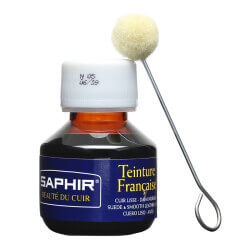
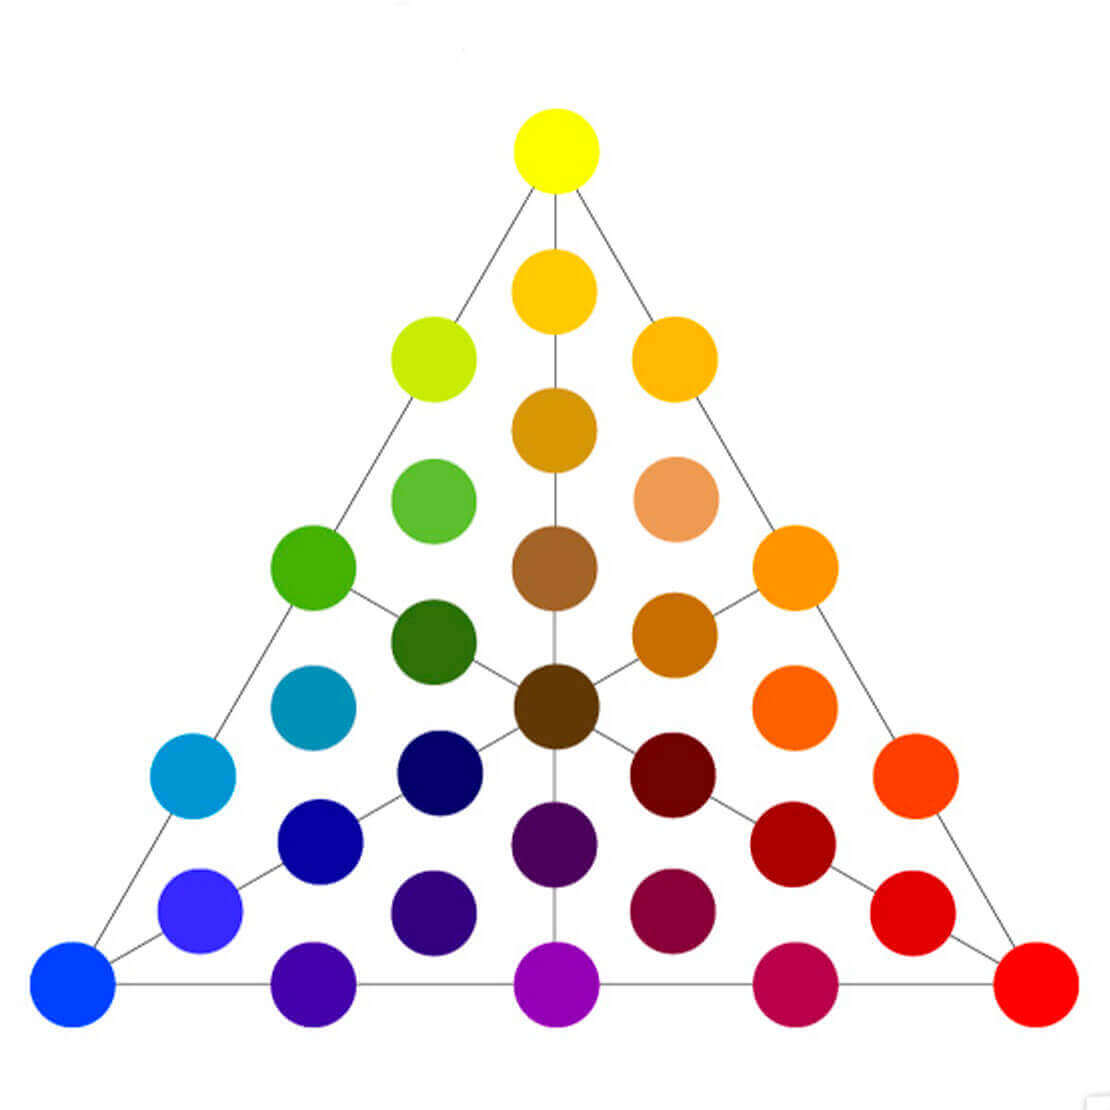
No one dye can create all colour nuances. The main ready-to-use dyes come in base colours, such as the Saphir blue, red, yellow or purple, and mixing colours, such as black, brown, green, violet etc.
To obtain other colours or lighter shades, you will need to mix several dyes and use the lightening base for adjustments. Here is a reminder:
Preparing the shades
Prepare your base dye. This will be evenly applied to the shoe and will constitute the lighter side of the patina contrast. If you would like a more pronounced patina, use a very light colour. In this example, we are using an orange brown.
Prepare the dyes needed for the design. In this lesson, we are using a medium brown, a dark brown and a black.
Use drawing paper and glass containers for mixing your dyes, bearing in mind that each type of leather produces different colour results. In any case, you will need to adjust your mixture after the first colour applications on the shoe.
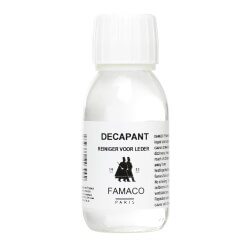
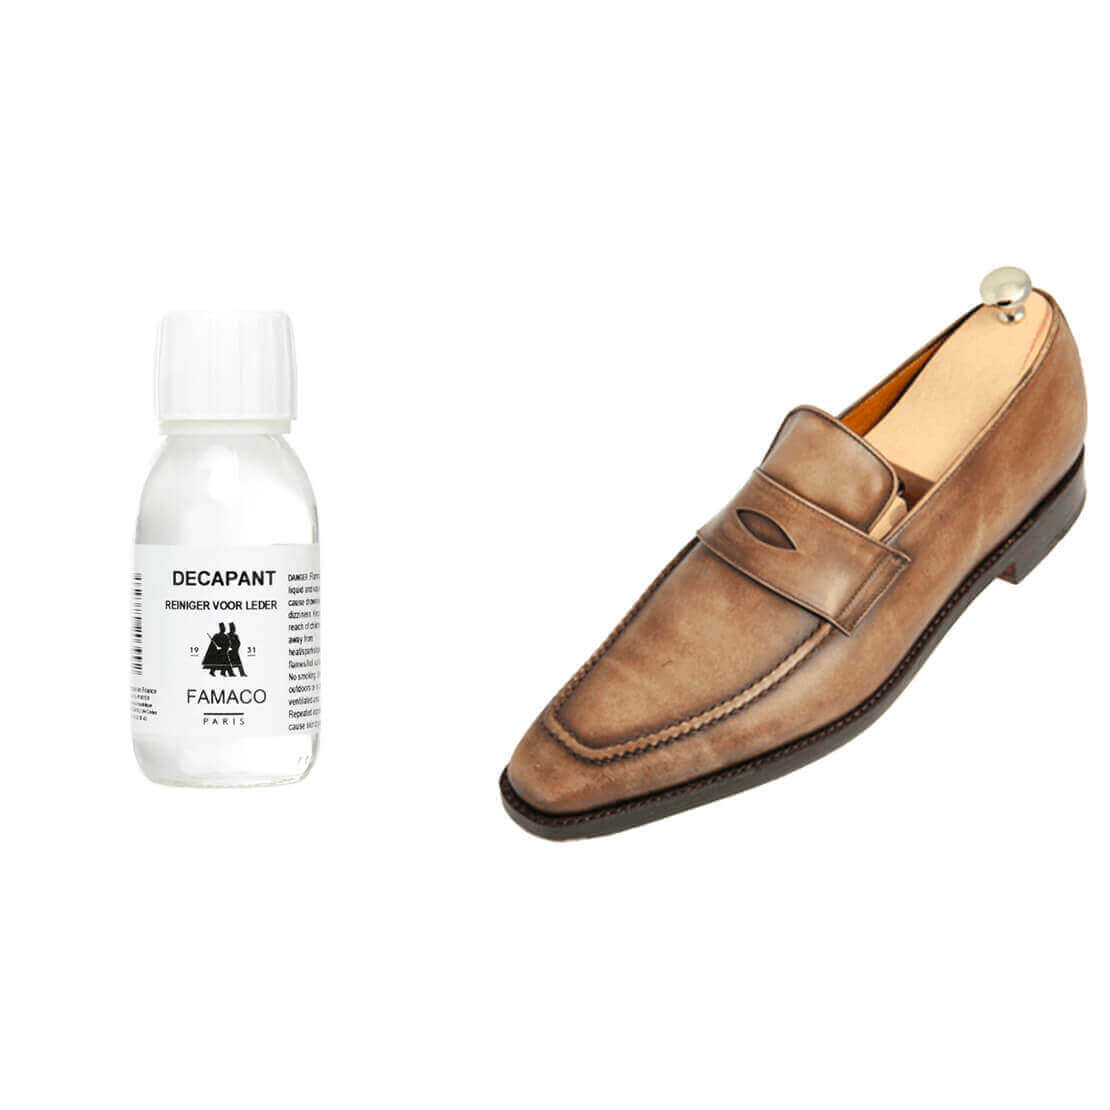
Step 3: Removing the colour
This step is undoubtedly the easiest and also the riskiest when it comes to patina design. If your products are too harsh or the color is removed too hastily, you may end up altering the leather, which can significantly decrease the useful life of your shoe.
We recommend proceeding with the color removal phase in very gradual steps in order to evaluate how the leather reacts.
Begin by gently rubbing the leather with an old cloth and a very small amount of the color remover. Allow the product to work for 5 to 10 minutes, then obsercolorve the state of the original color of your shoe.
If the color does not lighten, stop the process altogether and choose another pair of shoes. This is often the case for black shoes. Some people recommend using products such as bleach to lighten the leather more quickly. Monsieur Chaussure strongly advises against the use of these types of products as they can burn the leather and make it dull, breakable, and dry.
If the color lightens, continue to alternate this color removal phase with the drying time. The goal is to obtain a slightly lighter shade than the base dye.
For un-treated (un-tinted) leather, a single application of the color remover is enough to prepare the leather.
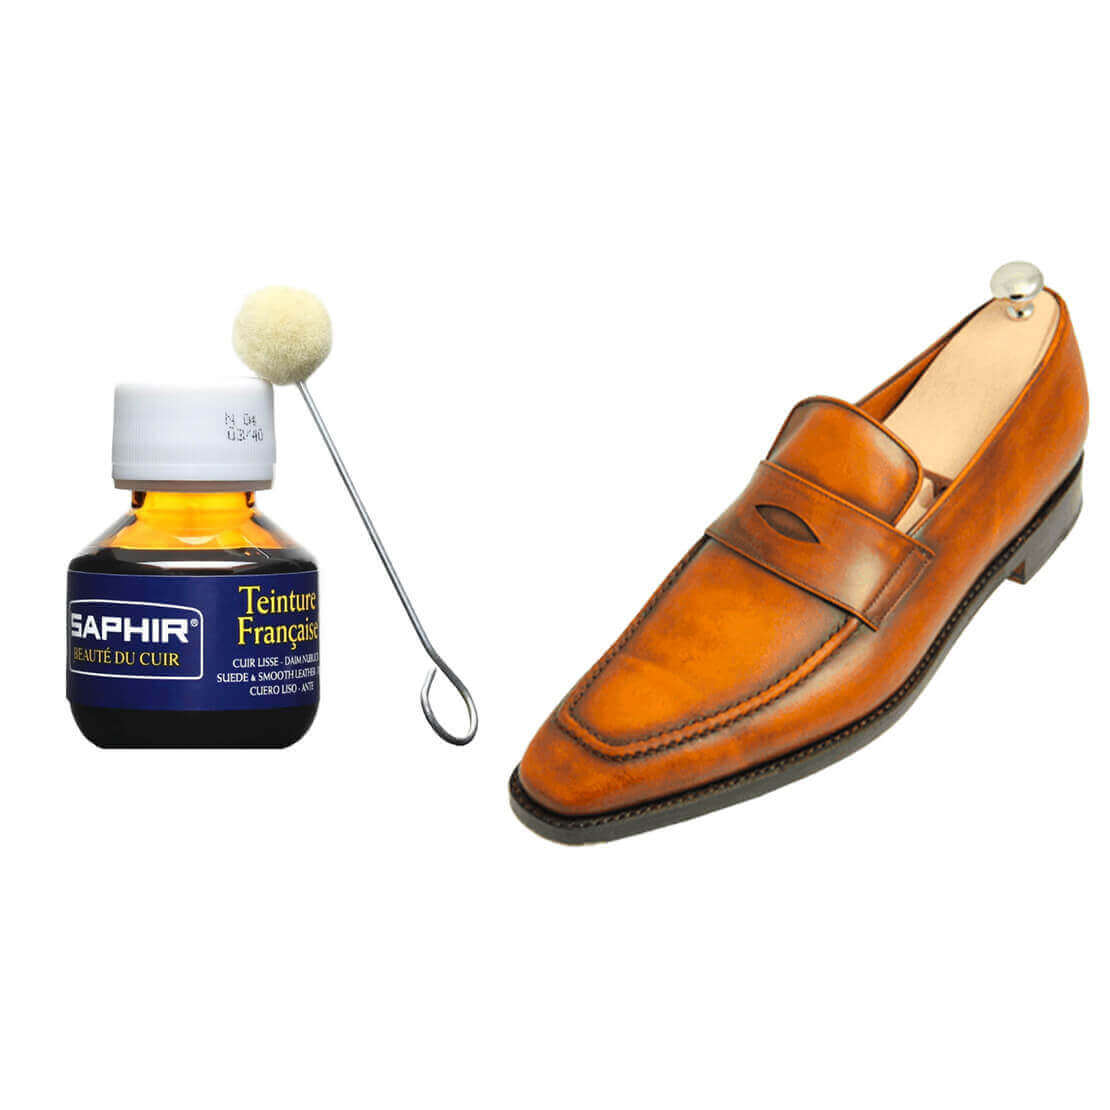
Step 4: Base dye
As previously indicated, the base dye constitutes the lighter side of the patina. It must be applied evenly over the entire shoe and must be light enough to increase the undertones of your design.
Dip a large, soft paintbrush into your base dye and wipe the brush onto a cloth. In one single stroke, apply the base dye to the shoe from one end to the other. Never brush the same area twice. Allow to dry for 10 minutes.
If you are satisfied with the base colour, move on to the next step. If you want a darker shade, apply another coat of the base dye. Repeat this step until you achieve the desired base colour.
The use of scotch tape is sometimes recommended for protecting the shoe’s heel. We consider that protecting the heel in this manner reduces your precision when applying the product. A good measure of patience and a precise stroke is all you need to obtain a beautiful, even base colour.
In this example, a second coat of orange brown with a higher orange colour concentration was applied.
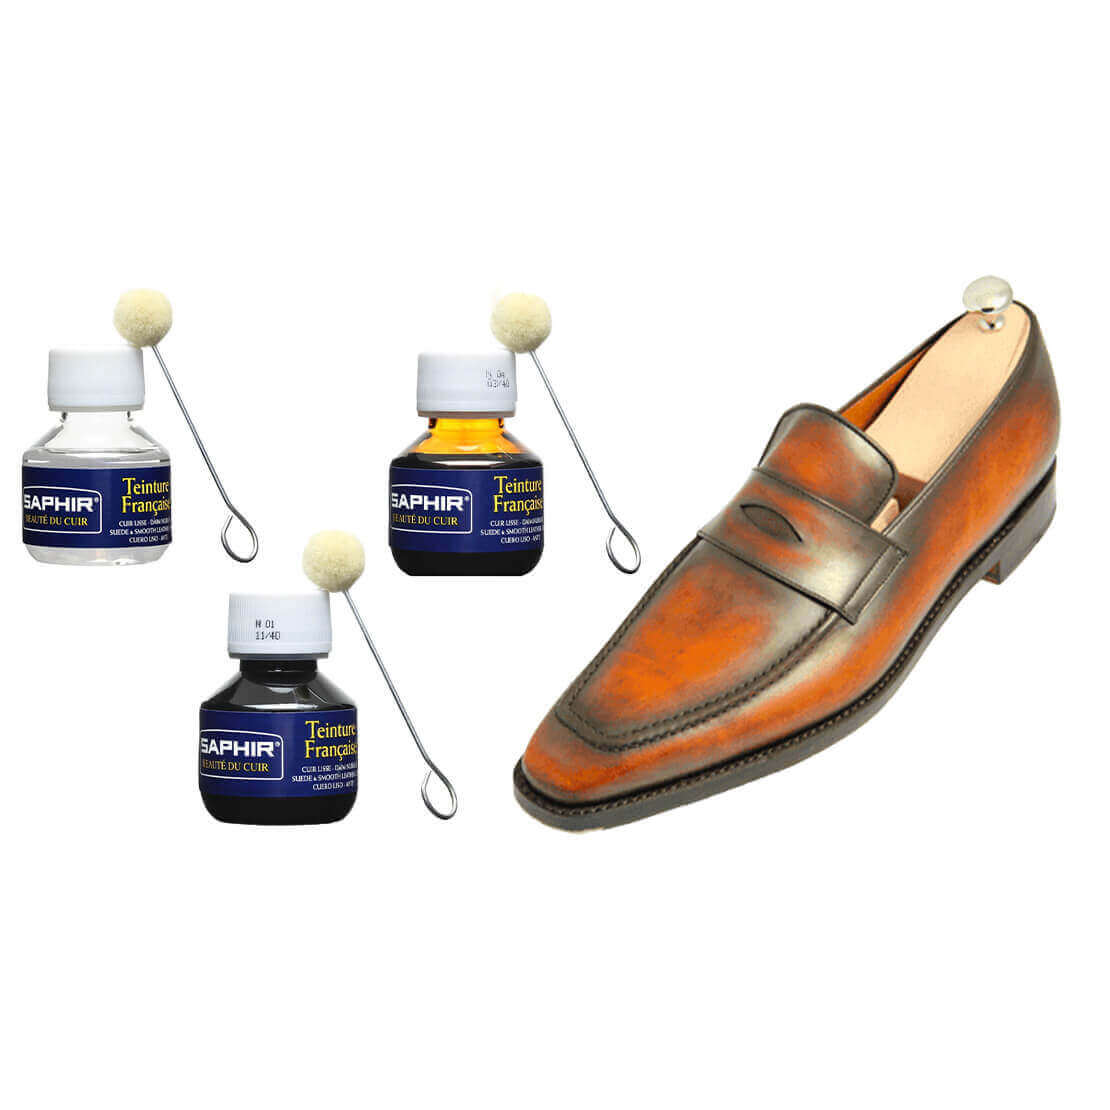
Step 5: The design
At this stage, our advice will be more discreet so as to allow you to express your full artistic abilities and taste. The possibilities are endless.
The only rule given by the Monsieur Chaussure shoemakers is to always begin with lighter shades and end with darker shades. In this example, the patina was created with a brush in three stages beginning with a medium brown, followed by a very dark brown and completed with a touch of black.
Do not hesitate to use any type of tool, be it a sponge, a newspaper, a cloth, your hands etc.
Some people test their patina design on drawing paper only to realise, very quickly, that leather is a material which is full of surprises and that no two leather shoes are identical.
So here is our final piece of advice: be patient, proceed step by step, allow the shoe to dry between each stage and use the dye very sparingly with each application. These precautions will result in a more precise patina that comes as close as possible to the patina design you imagined.
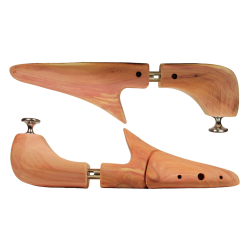
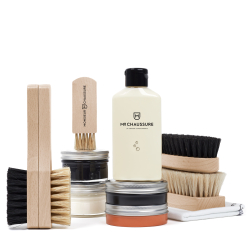
Step 6: Full polishing
Due to the harsh effects that color products have on leather, it is important to conclude your patina with a full leather care treatment. For this, we invite you to have a look at the leather shoe polishing lesson.
To maintain the depth of the patina, opt for a neutral shoe cream followed by a beeswax yellow shoe polish paste.