Polishing a Leather Shoe
Your leather shoes, boots, and ankle boots can be maintained and protected.
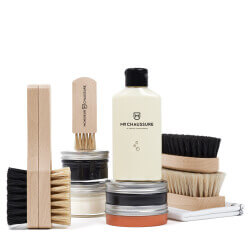
In this lesson, we explain how to use leather care products to maintain and protect your shoes.
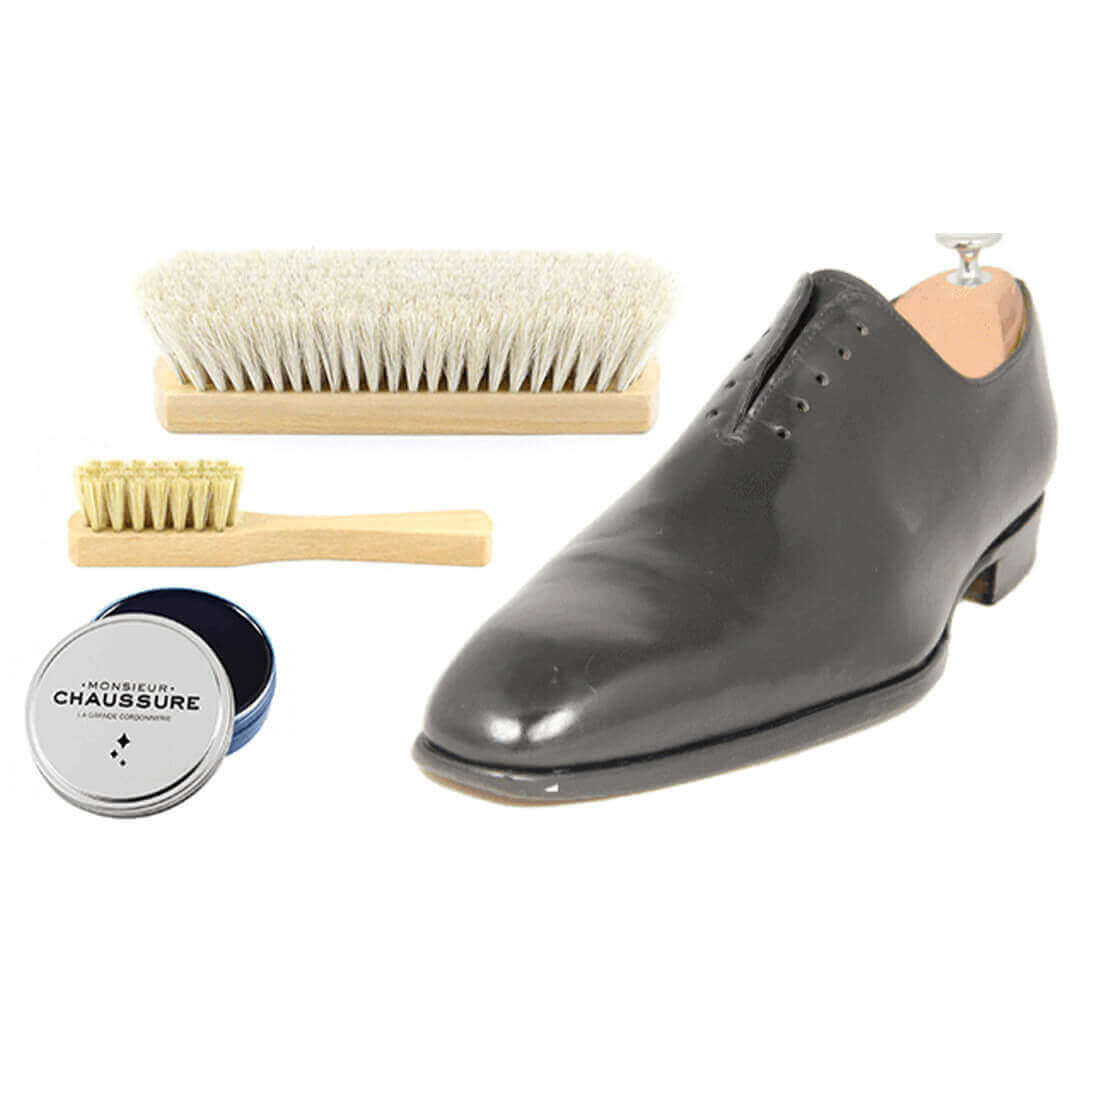
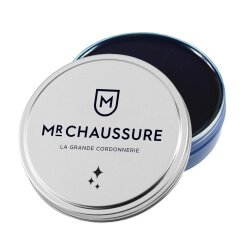
The products used are from Monsieur Chaussure's shoe care line.
STEP 1: PREPARATION
Remove the shoe lace to avoid soiling them and block the eyelets.
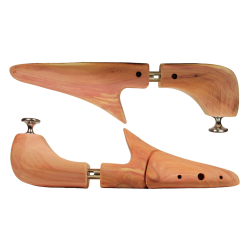
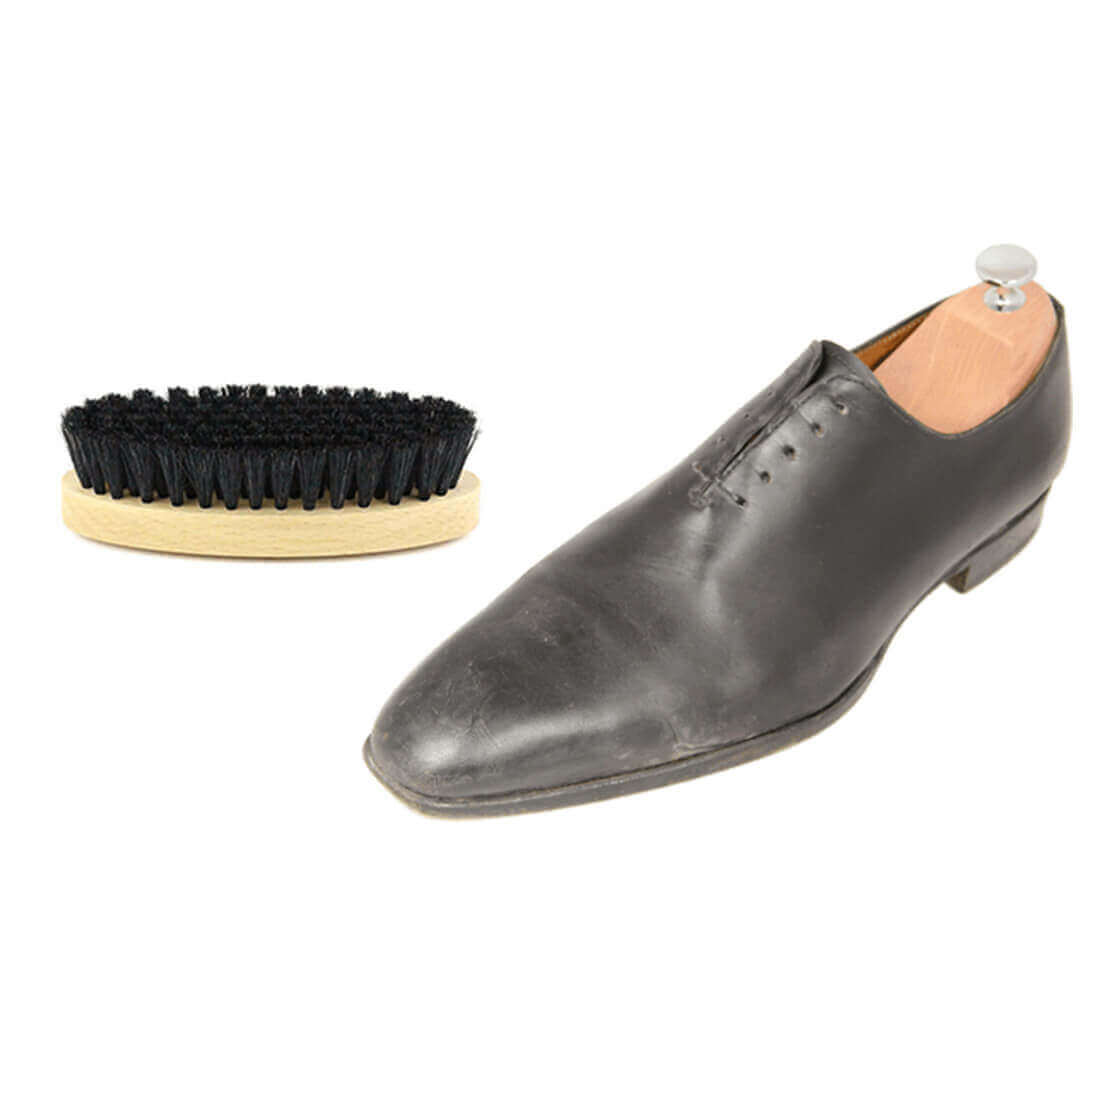
Place your wooden shoe trees into your shoes and stretch them.
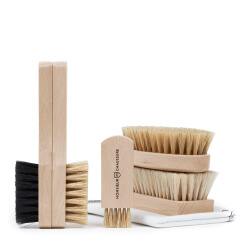
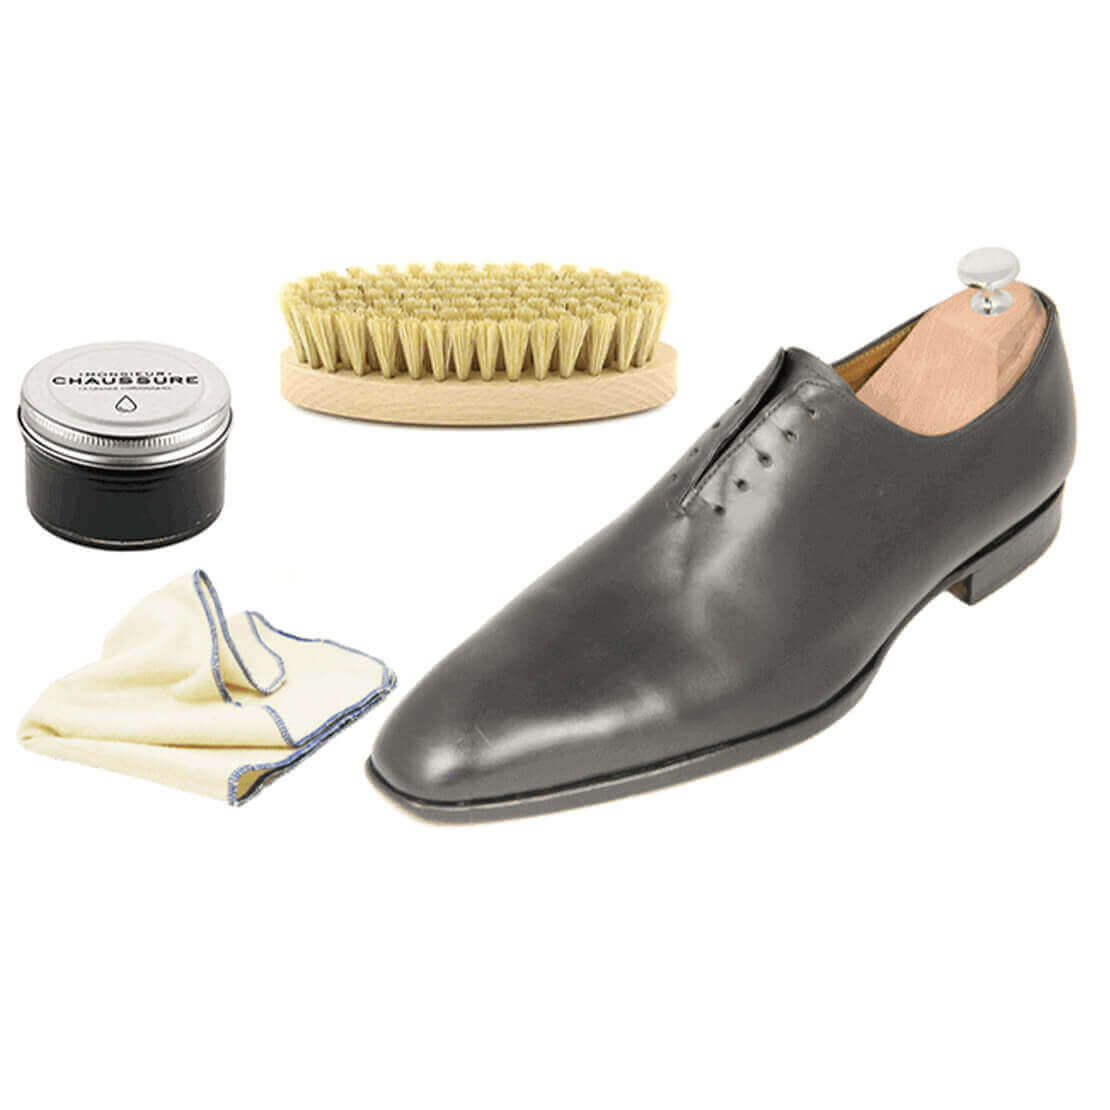
Lay out all your care products on your work surface.
STEP 2: DUSTING
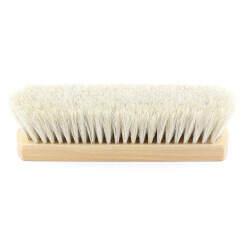
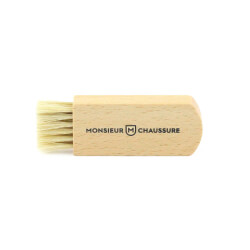
Brush your shoes vigorously, using your shoe cleaning brush to remove any excess dirt. Pay particular attention to the wax stitching.
The shoe cleaning brush is to be used for removing dust and dirt only. Do not use this brush for shoe shining.
It is essential to remove the dust before proceeding with the suede care to ensure that impurities do not get trapped in the leather. This will result in the opposite of the desired results which is to prolong the useful life of the shoe.
STEP 3: CLEANING
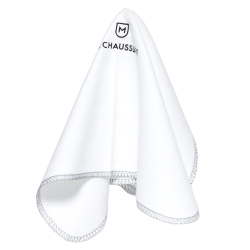
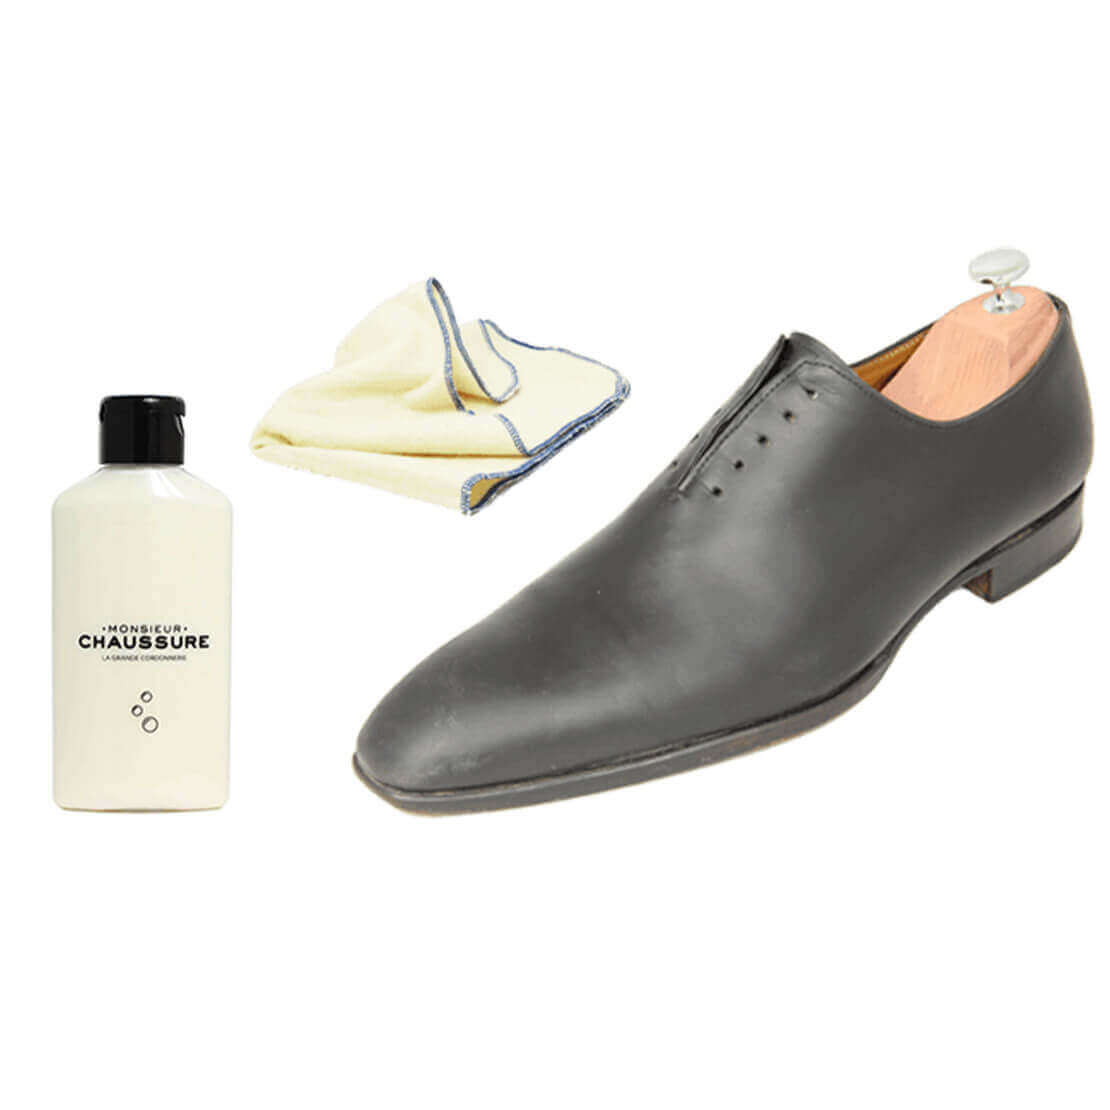
Wrap a polishing cloth around your index and middle fingers.
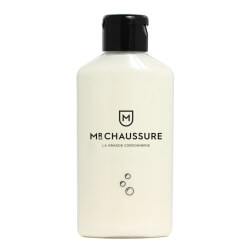
Dampen the polishing cloth with your leather cleaner and apply the product to the shoe using vigorous, circular strokes.
During this step you will be cleaning the shoe by removing any old shoe polish. Pay particular attention to any creased areas caused by walking. Using vigorous strokes in the direction of the length of the shoe will help you smoothen out any such creases.
When all the old shoe polish has been removed, use a clean part of the polishing cloth with a bit of the leather cleaner to make sure that no polish is left. At this point, if your polishing cloth remains clean, this step is finished.
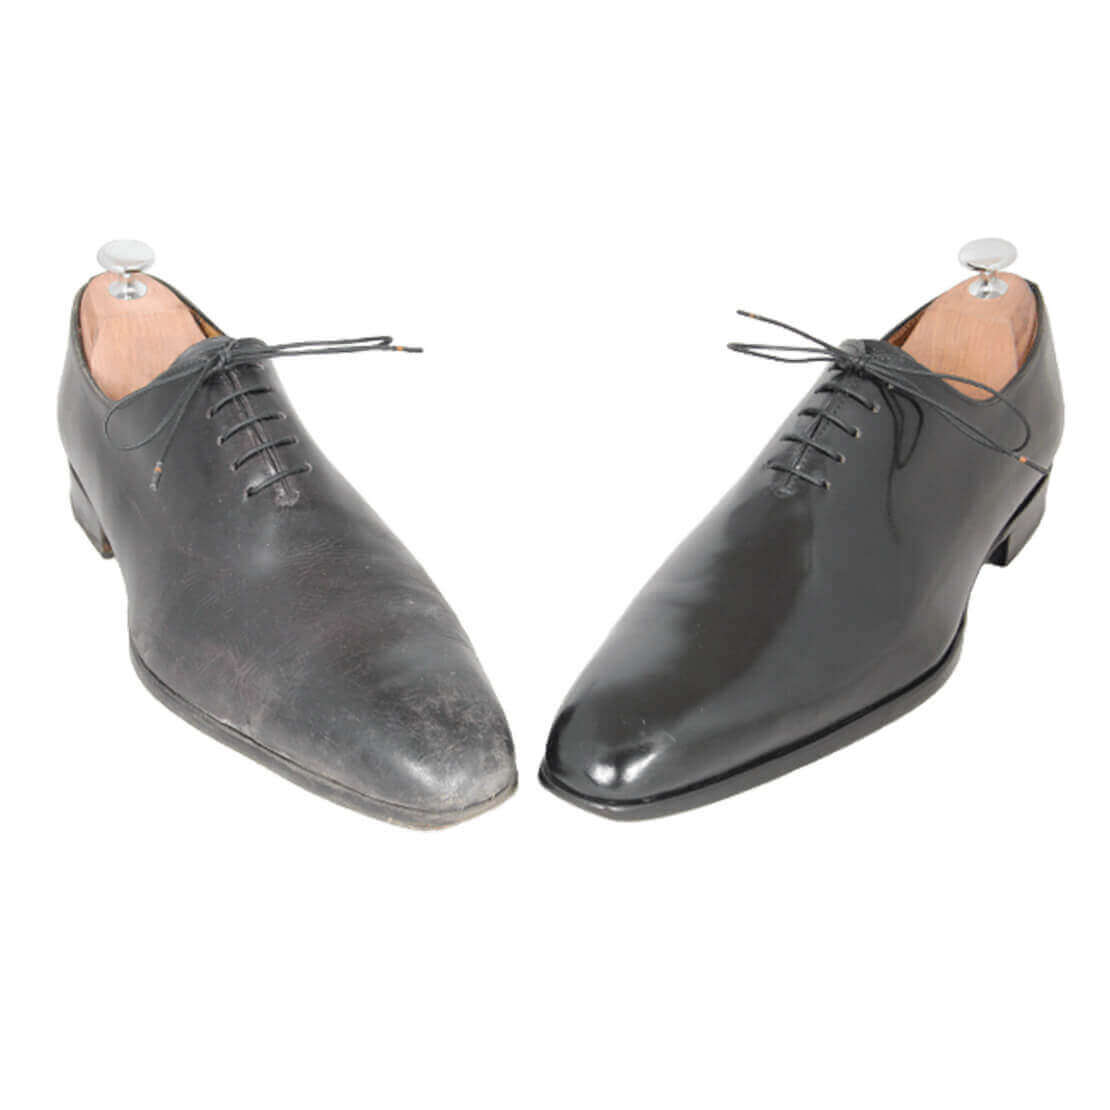
This procedure allows the shoe to last longer and prevents cracking.
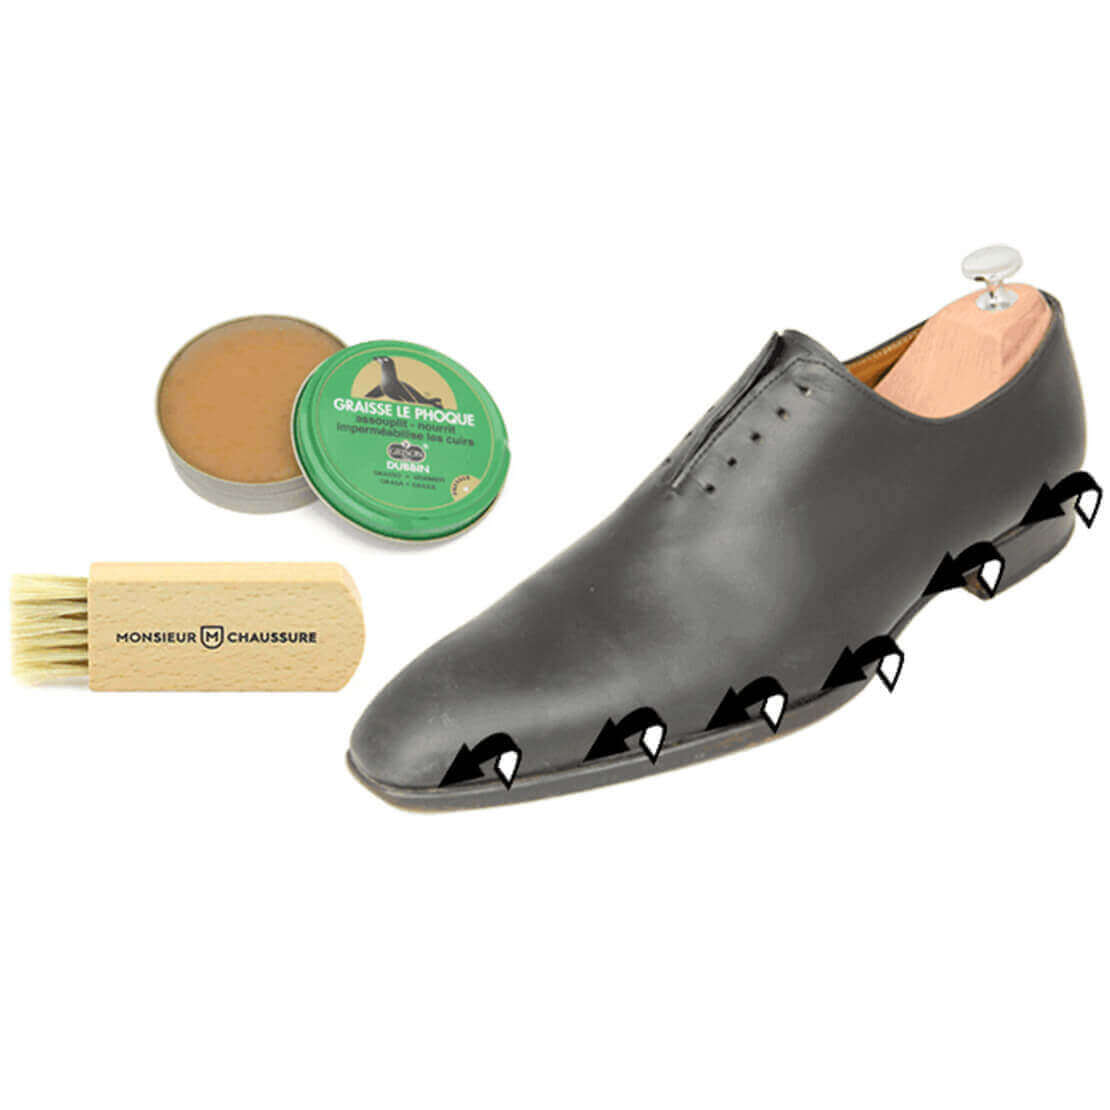
STEP 4: NOURISHING THE WAX STITCHING
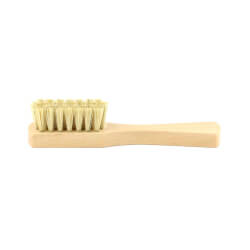
Dab your welt brush into the dubbin and apply the product generously to the welt edging to allow it to fully penetrate and nourish the wax stitching.
This nourishing step is very important since dried-out stitching comes apart and could compromise the stability of the shoe sole.
Pay particular attention to the stitching around the tip of the shoe as this is the part that is most exposed to impact.
STEP 5: NOURISHING THE LEATHER
Wrap a polishing cloth around your index and middle fingers, making sure that is taught and has no folds.
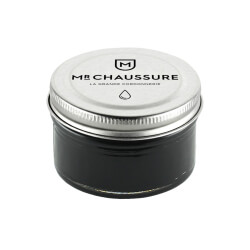
Dip the polishing cloth into a bit of the shoe cream and apply the product to your shoe. We recommend using a shoe cream in either the same color as your shoe or a slightly darker shade. Lighter colors tend to reveal the creases and wear and tear marks on a shoe.
Use broad, vigorous, and circular strokes when applying the shoe cream. The leather should be saturated with the product.
Do not neglect the tongue of the shoe. Pay particular attention to creased areas as the creaming motion creates the heat needed to smoothen them out.
This step will nourish the shoe leather and revive its color.
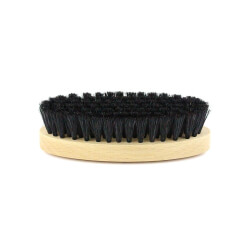
When the leather is saturated with the shoe cream, remove any excess product with a shoe shine brush at the joints and stitched areas. Allow the product to work on the shoe for a few minutes.
STEP 6: WATERPROOF POLISHING
Dab your shoe dauber into the shoe polish and apply the product to your shoe. A navy blue polish can be used on a black shoe for a deeper black shade, and a Burgundy polish can be used on a brown shoe to create an interesting undertone. If your shoe has a multi-colored patincolora, opt for either a neutral or a beeswax yellow shoe polish. The neutral polish will slightly lighten the patina, while the beeswax yellow polish will accentuate the color contrast.
The shoe dauber is important for applying shoe polish to hard-to-rach areas. The shoe polish carries no nourishing properties and as such, will not “penetrate” the leather. Its purpose is to create a shine and waterproof leather.
Allow the product to dry for 5 to 10 minutes, then brush the shoe using a shoe shine brush and broad, gentle strokes.