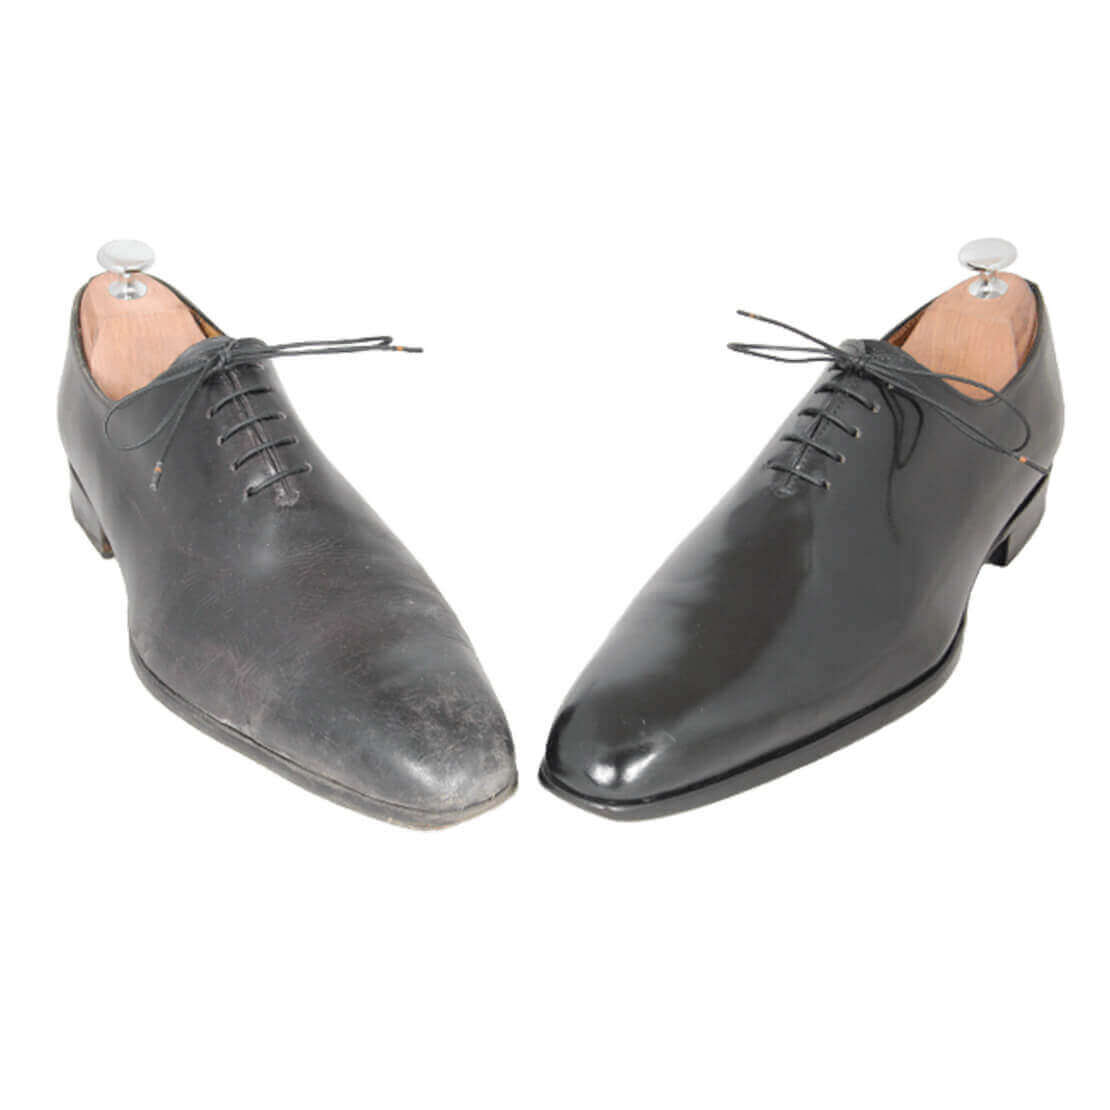
Polishing a Leather Shoe
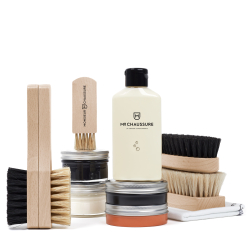
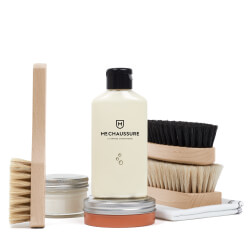
Your leather shoes, boots, and ankle boots can be maintained and protected with leather care products
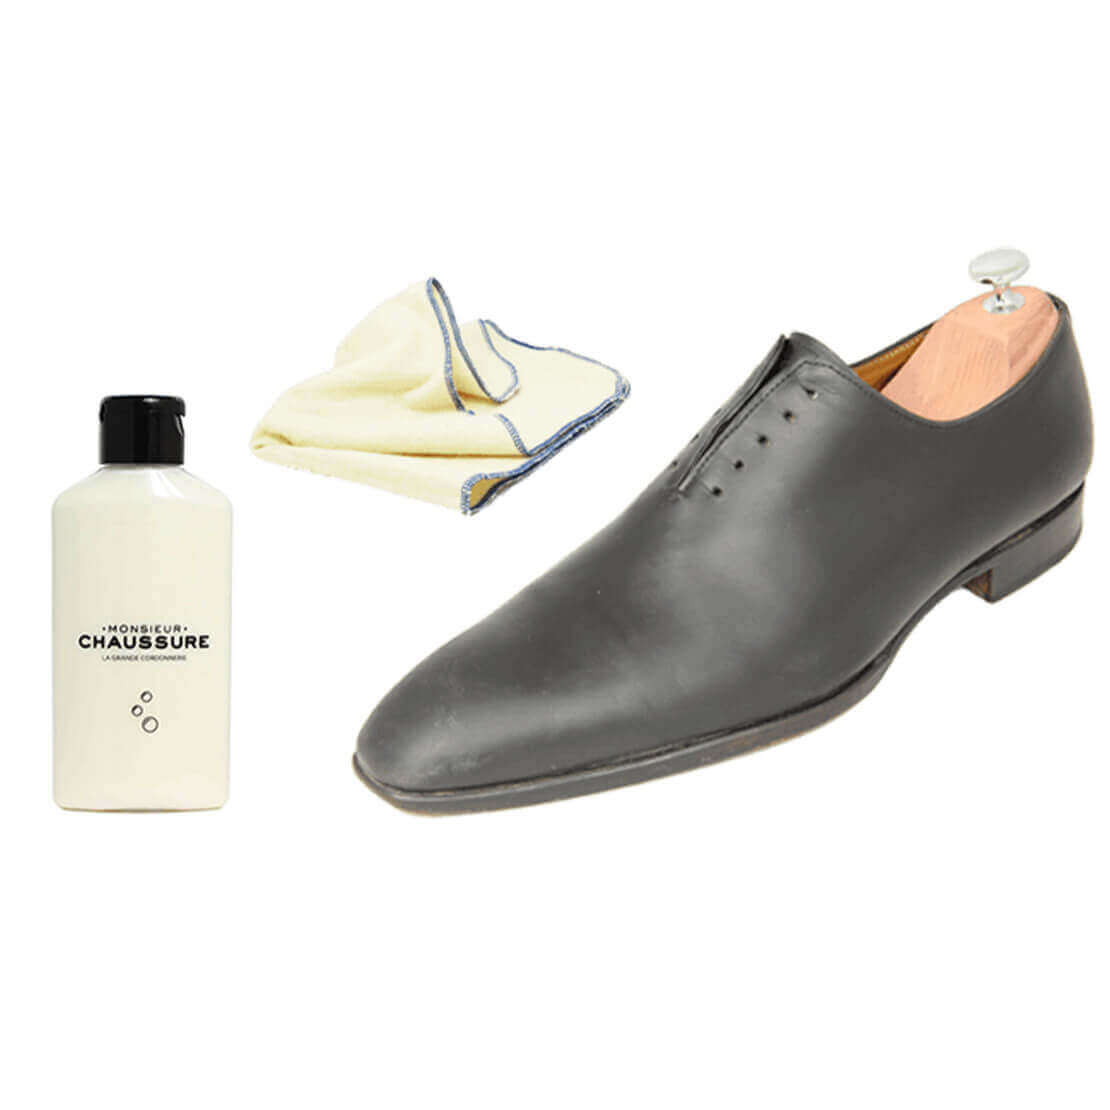
Step 1: Preparation
Remove the laces to prevent them from getting dirty and clogging the eyelets.
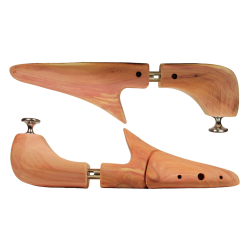
Place cedar shoe trees in your shoes to keep the leather taut under the creases, making it easier to apply products and limiting creases in the long term.
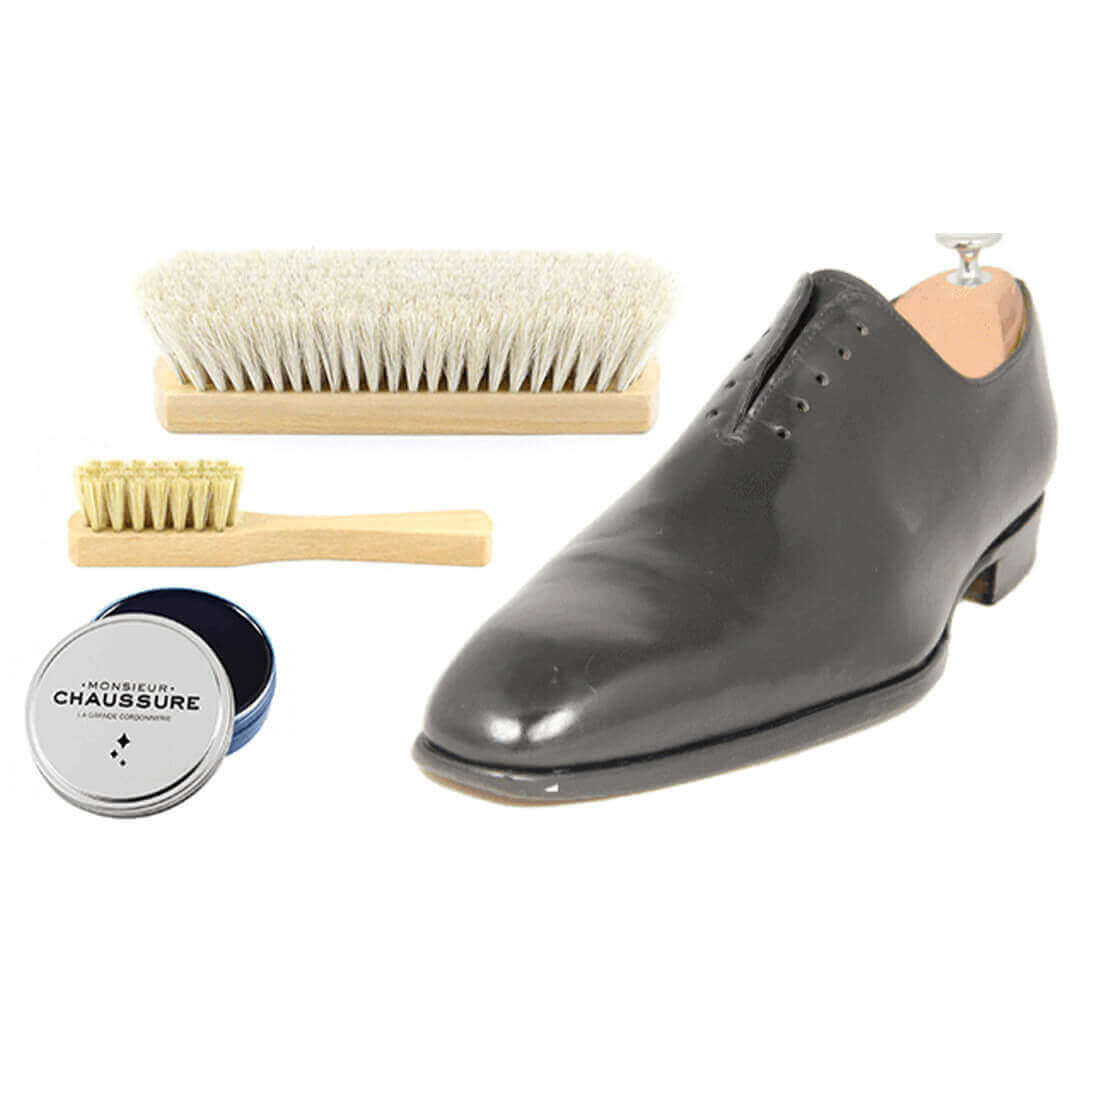
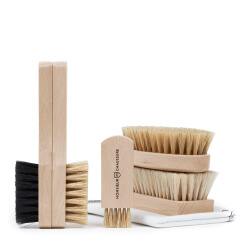
Place the products you are going to use on the table.
Step 2: Dusting
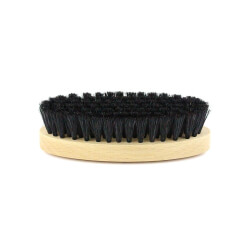
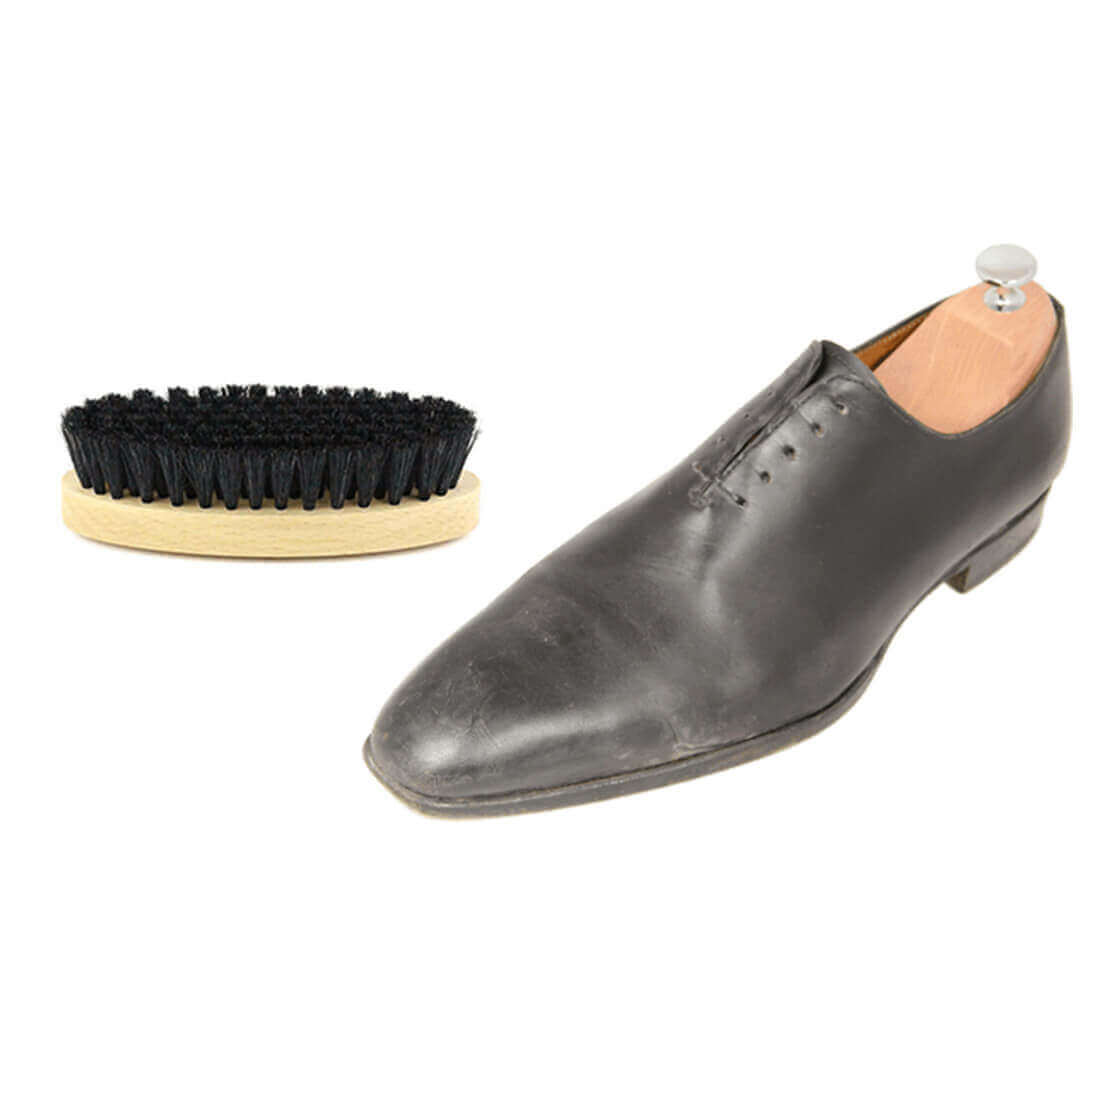
Using your shoe brush, brush your shoes vigorously to remove all excess dirt. Pay particular attention to the stitching.
The shoe brush is only used to clean your shoes, not to polish them. It is made with bristles that are stiffer than those of a polishing brush, without any risk of scratching the leather of your shoes.
It is essential to remove dust before treating a shoe so that dirt is not trapped under the products.
This will have the opposite effect to the desired one, which is to prolong the life of a shoe.
Step 3: Cleaning
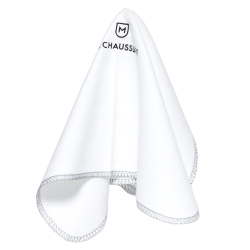
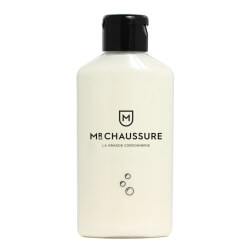
Wrap a chamois cloth around your index and middle fingers. Apply the cleansing milk to the cloth and rub it onto the shoe using vigorous circular movements.
This will clean the shoe by removing old layers of polish. Pay particular attention to the creases that form when walking.
When you think you have removed all the old polish, check by wiping a clean part of your chamois cloth with a little cleansing milk. If your chamois cloth remains fairly clean, the stripping process is complete.
Cleaning will prevent layers of polish from building up on your shoes, which causes the leather to dry out, crack and inevitably develop irreparable fissures.
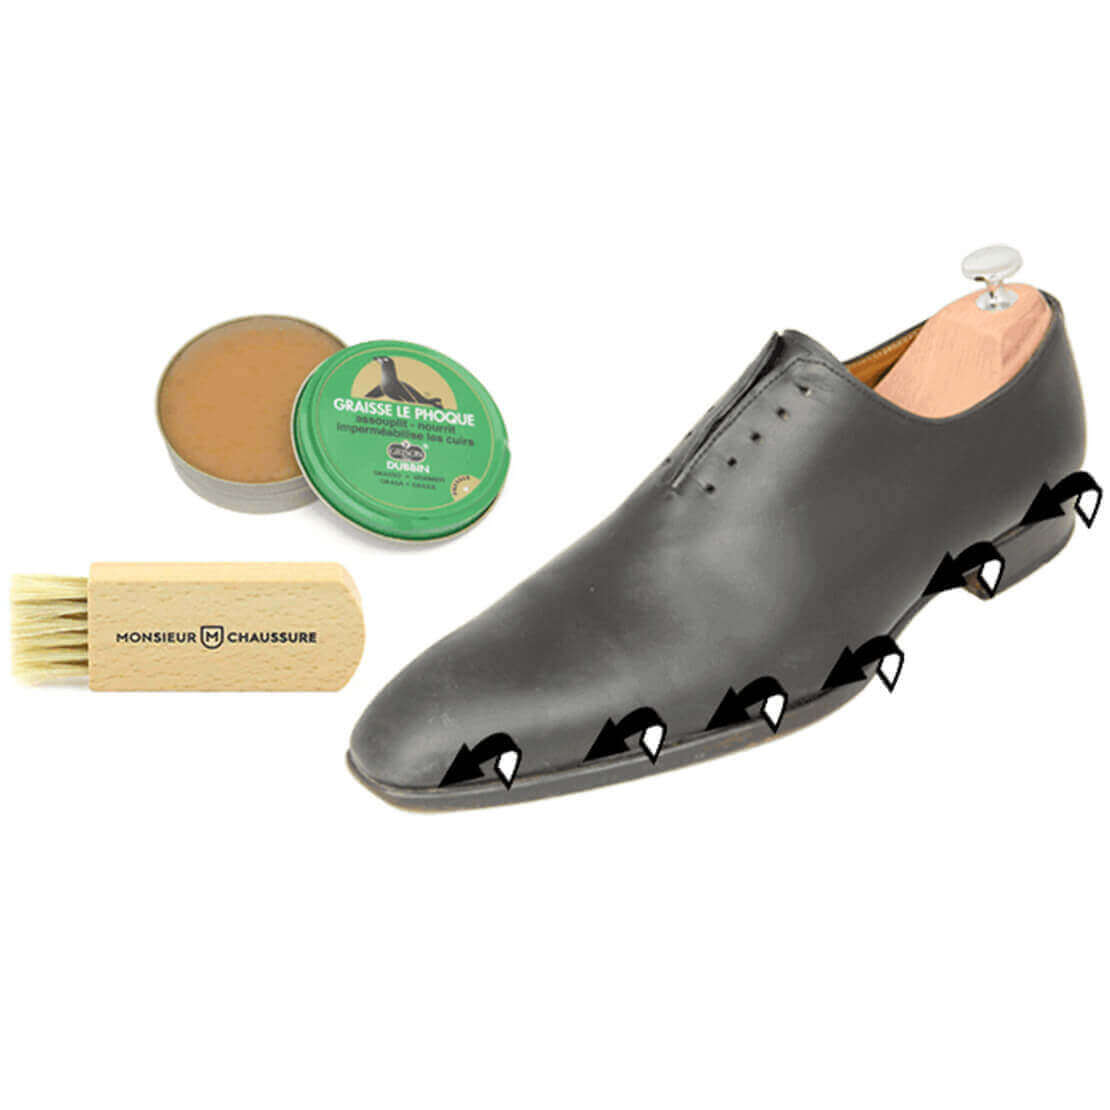
Step 4: Nourishing the wax stitching
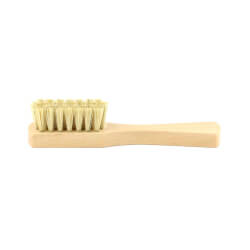
Dip your brush into the cream polish and slide it around the edge to nourish the waxed thread. Make sure the cream penetrates the waxed thread thoroughly.
This step is very important because a dried-out thread could break, causing the upper part of the shoe (the vamp) to separate from the rest.
Pay particular attention to the front of the shoe, as this is the part most exposed to impact.
Step 5: Nourishing the leather
Wrap your chamois cloth around a clean corner of your index and middle fingers.
Be sure to stretch the cloth tightly over your fingers, tucking the rest into the crook of your thumb.
Apply a small amount of polish to your chamois cloth and rub it onto your shoe using circular motions.
It is advisable to use a cream colour that is slightly darker than the shoe. A lighter colour will tend to highlight creases and ‘wear marks’.
All the shoe polish applied must penetrate the leather of the shoe. Do not forget the tongue and pay particular attention to the creases.
This process nourishes the leather, keeping it supple and reviving its colour.
When the leather is saturated with polish and no longer absorbs any more, leave the shoe to rest while you polish the other foot, then use your shoe brush to remove any excess polish.
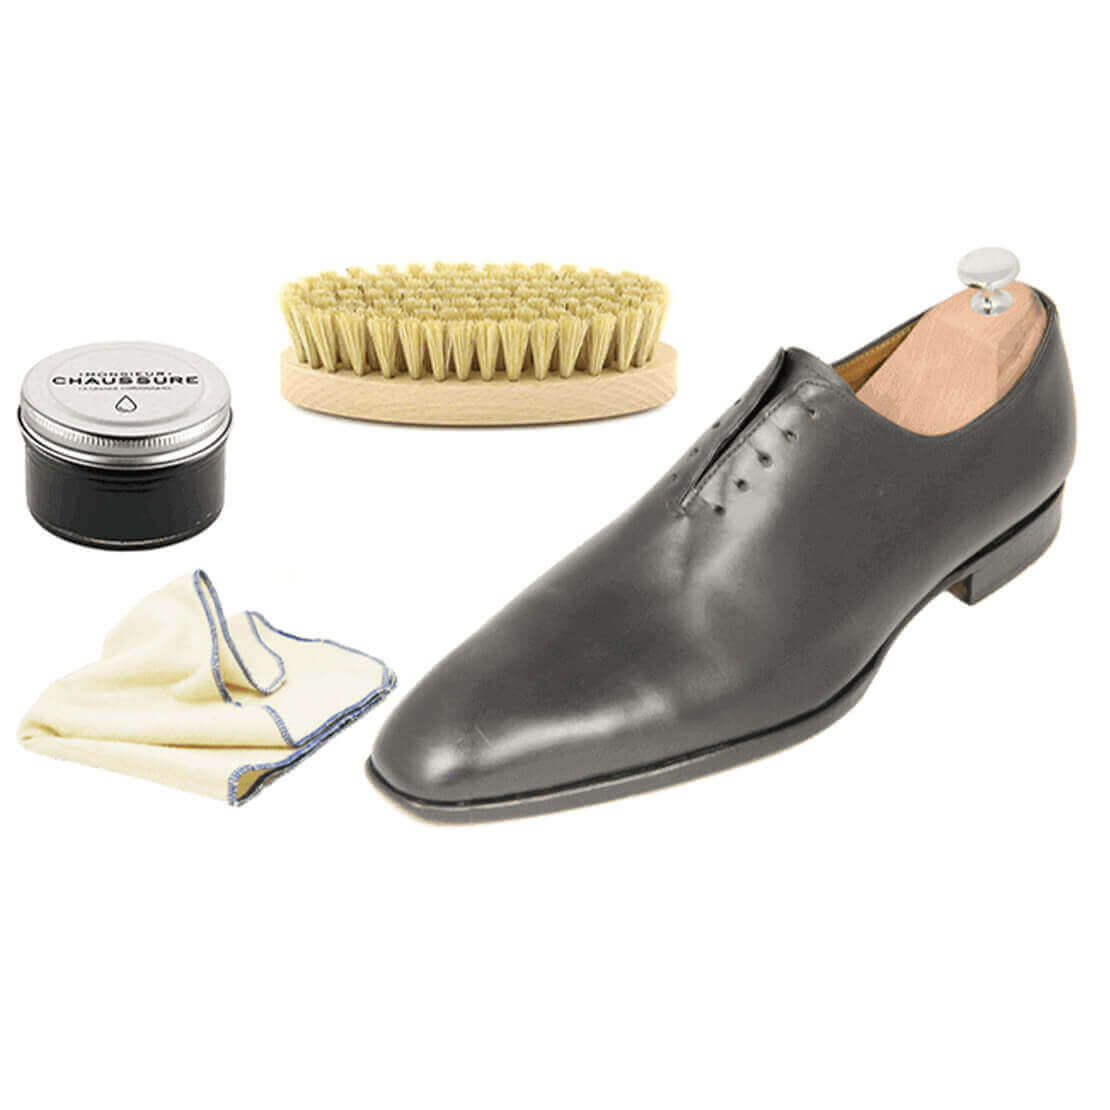
Step 6: Polishing
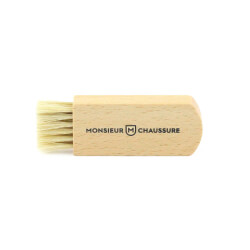
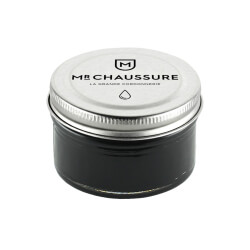
Dip your brush into the polish paste and apply it to your shoe using circular motions.
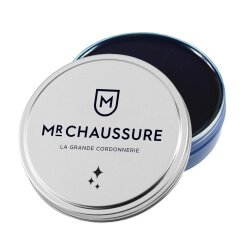
On black shoes, you can use navy blue paste to achieve a very deep black, or burgundy on brown shoes for burgundy highlights.
If your shoe has a multi-coloured patina, opt for a colourless or yellow wax paste.
The colourless paste will tend to dull the patina slightly, while a yellow wax paste will accentuate the contrast between the colours.
It is important to use a polishing brush as this allows the polish to be evenly distributed in the less accessible areas.
The polish does not need to penetrate deeply; it is a surface layer that protects and slightly waterproofs, but does not have the nourishing function of the previous step.
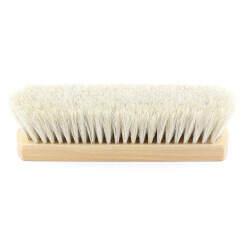
Leave to dry for 5 to 10 minutes, then polish with a horsehair polishing brush using quick, light strokes to heat the polish and make your shoes shine.